
Unblur Photos
Reduce soft focus, slight defocus or small camera shake in a photo, with a mode for each kind of blur and control over how hard it sharpens.
- Soft, defocus or motion blur
- Strength control
- Advanced radius and angle
Classic image processing Blur is reduced by classic sharpening and deconvolution. It can make edges crisper but cannot bring back detail that the blur destroyed, and strong settings add halos and noise.
Choose a photo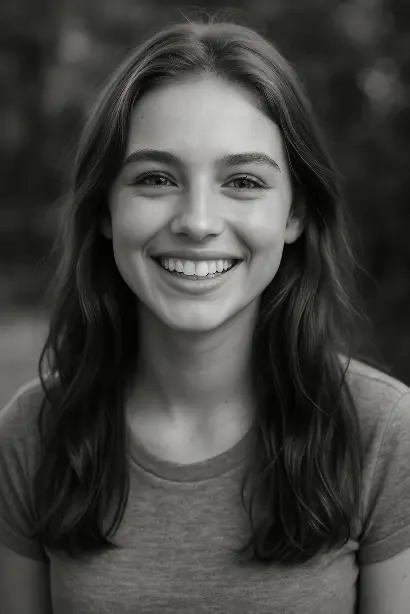 Before
After
Before
After
Unblur Photo workspace
Drop your photo here
or choose a file · on a phone you can take a photo or pick one from your gallery
Ready
Working
Preparing your photo…
- Uploading
- Waiting in line
- Processing
- Loading the result
Most photos take under a minute. Larger photos and busy times take longer.
Finished
Compare the result
Drag the divider or use the arrow keys to compare. Zoom in to check fine detail; when zoomed, drag the picture or use the arrow keys on it to move around.
That did not work
What to expect
- Works on mild blur. A badly out-of-focus or heavily shaken photo will improve only a little.
- Strong settings can create bright outlines and exaggerate grain; run Denoise Photo first on grainy scans.
- Motion mode needs the direction of the shake; leave the length on Auto if unsure.
Your photo is processed on a2z.tools servers. No third-party AI provider receives it, it is not used for training, and the upload and result are deleted automatically 60 minutes after processing finishes.
Related Tools
More tools in the same category


Other Tools
Popular tools from across A2Z


What Unblur Photo does
Blur comes in different kinds, and a tool that treats them all the same tends to over-sharpen. Unblur Photo lets you say what kind of blur you are looking at and how hard to push, so you can get crisper edges without turning the photo harsh.
Three kinds of blur
Soft focus mode applies careful unsharp masking, which boosts contrast along edges. Out of focus mode uses deconvolution with a disc-shaped blur estimate: it tries to undo the spreading of each point of light, using the blur radius you set or one estimated automatically. Camera shake mode uses a line-shaped estimate, set by the length and angle of the shake.
Deconvolution can only undo blur that still leaves information in the photo. Fine detail that the blur averaged away, such as small text or individual hairs, cannot be recovered by any honest method, and pushing the strength only adds ringing and noise.
Choosing settings
Start with the default strength and the Auto radius. Zoom in on a clear edge, such as a door frame or the outline of a face. If you see a bright double outline, lower the strength. If a shake mode makes things worse, the direction is probably wrong: try an angle 90 degrees different, or fall back to soft focus mode.
When to use it
- A scan of a print that is slightly soft overall.
- A photo where the subject is a little out of focus.
- A picture with small, straight camera shake from a slow shutter.
How to use it
- Choose the photo and pick the kind of blur that matches it.
- Leave the strength at the default for a first try.
- For camera shake, open Advanced and set the direction of the shake, or leave the length on Auto.
- Process the photo and zoom to 2x to check edges for halos.
- Adjust the strength and run it again if needed, then download.
Limitations
- Heavy blur cannot be reversed; expect a modest improvement.
- Camera shake mode assumes one straight shake direction; curved or mixed shake will not correct cleanly.
- Sharpening makes grain and JPEG blocks more visible; denoise first on grainy scans.
- Bright outlines (halos) appear along strong edges at high strength.
Privacy
Your photo is processed on a2z.tools servers. It is not sent to any third-party AI provider and is not used for training. The upload and the result are deleted automatically about 60 minutes after processing finishes, and straight away if processing fails or is cancelled. Results are returned only to the browser session that uploaded the photo.

Rate this tool
Was this tool useful? Your feedback helps us improve it.
Key facts
- Three modes: soft focus, out of focus and camera shake.
- Adjustable strength, with blur radius, shake length and direction under Advanced.
- Radius and length can be left on Auto.
- Classic sharpening and deconvolution, not generative AI.
- Strong settings can add halos and exaggerate grain.
How to use it
- Choose the photo and pick the kind of blur that matches it.
- Leave the strength at the default for a first try.
- For camera shake, open Advanced and set the direction of the shake, or leave the length on Auto.
- Process the photo and zoom to 2x to check edges for halos.
- Adjust the strength and run it again if needed, then download.
Frequently asked questions
Which blur mode should I choose?
Use Soft focus when the whole photo is slightly soft, Out of focus when the subject looks blurred evenly in every direction, and Camera shake when edges are smeared in one direction. If unsure, try Soft focus first; it is the gentlest.
Can this make a very blurry photo sharp?
No. Heavy blur has already destroyed the fine detail, and classic sharpening cannot put it back. Expect crisper edges on mildly blurred photos and only a small change on badly blurred ones.
What do blur radius and shake length mean?
Blur radius is roughly how many pixels a point of light has spread in an out-of-focus photo. Shake length is how far the camera moved during the exposure, in pixels. Leave both on Auto unless the result looks under- or over-corrected.
How do I set the shake direction?
Look at a small bright point or a thin edge and see which way it is smeared. Zero degrees is horizontal and 90 degrees is vertical. If the result looks worse, the direction is probably wrong by about 90 degrees.
Why do I see bright outlines after unblurring?
Those are halos, a side effect of strong sharpening along high-contrast edges. Lower the strength, or switch from Out of focus to Soft focus mode, which produces weaker halos.
Should I unblur before or after upscaling?
Before. Enlarging a blurred photo enlarges the blur too, and sharpening the smaller image gives the upscaler cleaner edges to work with. Run Unblur Photo, then continue to the Image Upscaler.
Last reviewed: